Identity Server
Lucity applications use the Lucity Identity Server to identify, authenticate, and track Lucity user logins—processes that are required for various Lucity applications to work. A copy of the Lucity Identity Server program should be installed alongside Lucity Web and Lucity Mobile Server.
Lucity recommends closing all Windows applications before running the Lucity software setup.
General Requirements
- General hardware and software requirements
- The Server installation must be completed before the Identity Server is installed.
Specific Requirements
- .NET Framework 4.8 (Full)
- ASP.NET 4.5 should be installed and enabled in IIS.
-
When using IIS 7 or higher, the following Role Services are required:
- IIS 6 Metabase Compatibility
- IIS 6 WMI Compatibility
Important: The Lucity Identity Server uses basic authentication. Lucity recommends that agencies deploy this application under TLS.
How To Install Identity Server
Tip: If you are installing the Lucity Identity Server as part of the Lucity Web REST API installation process, skip ahead to step 3.
-
Open the Lucity install media and run Setup.exe. The following screen appears:

- If you do not launch the Identity Server install from the Setup.exe, you must launch it using the LucityIdentityServer.exe.
- Select the Identity Server option on the menu. The following window appears:

-
Read the Welcome screen. Click
 to continue. The Database Connection Information dialog appears:
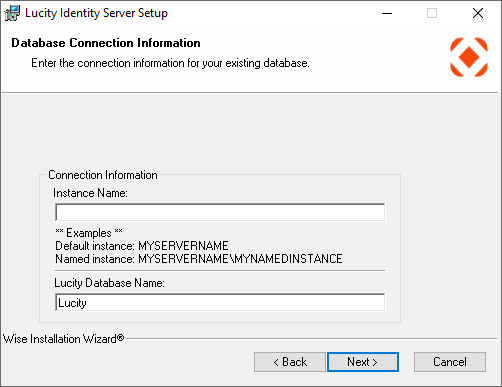
- Use the Instance Name field to identify the SQL Server instance that hosts the Lucity database.
-
Use the Database Name to identify the database that stores your Lucity data. This is typically called Lucity.
Note: The databases must already exist. The installation will not create databases for you.
- Click to continue. The Existing Site dialog appears:
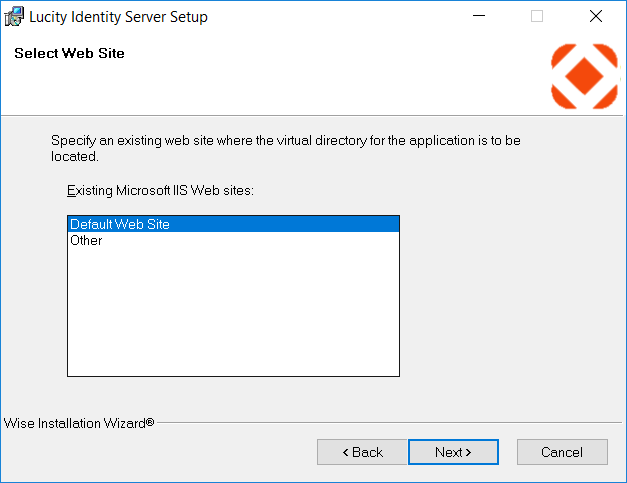
This screen appears only if more than one site is defined in IIS.
- Select an existing web site where the virtual directory for the Lucity Identity Server is located.
-
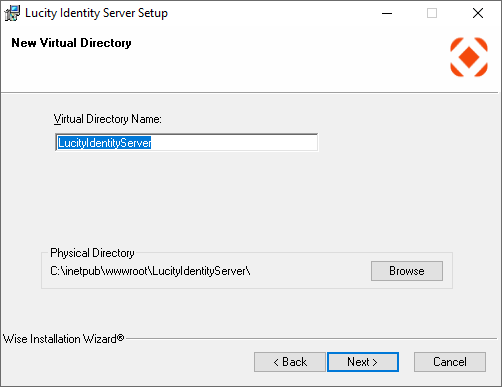
Click
to continue. The Virtual Directory dialog appears:- Lucity recommends using the default settings. The Physical Directory defaults to the root of the existing web site.
- Click to continue. The SSL Option dialog appears:
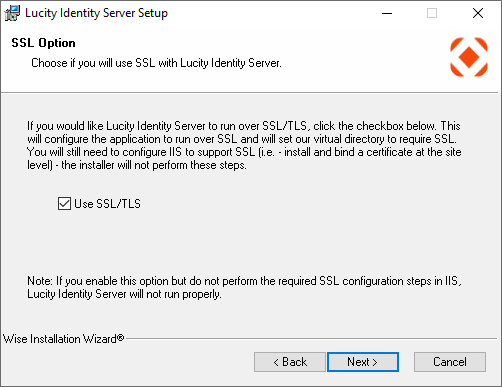
- Check the Use SSL/TLS option to use the Identity Server over SSL/TLS. An administrator must configure the site to support SSL/TLS by installing a valid certificate and creating an https binding if these items do not already exist.
If this option is enabled and an administrator does not complete the required SSL/TLS configuration process in IIS, the Identity Server will not run properly.
- Click to continue. The Identity Server Type dialog appears:
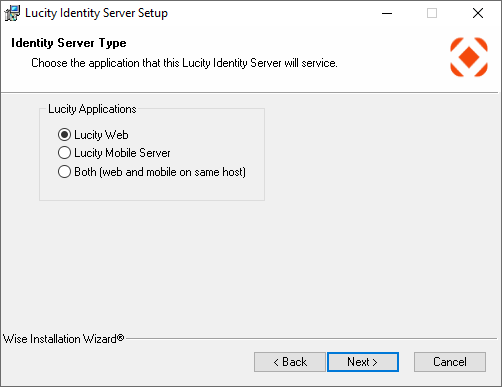
- Select the application this instance of Identity Server will service. If you use the Both option then all settings for the Identity server must match across the board. This means that whatever url you are using to access the identity server has to be accesible to all Lucity Web, Mobile, Mobile Barcoding, and ArcGIS Pro users.
-
Click
to continue. The Website Hostname dialog appears: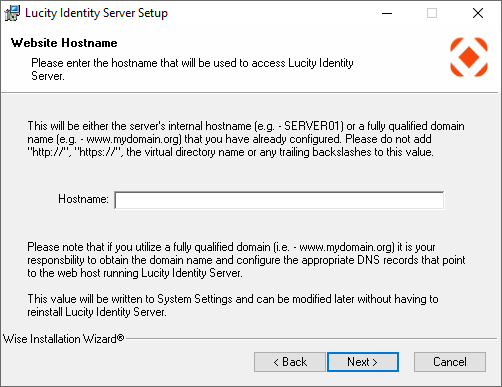
- Enter your server's internal Hostname. (Do not add anything in this field but the Hostname.)
-
Click
to continue. The Web Gateway User dialog appears: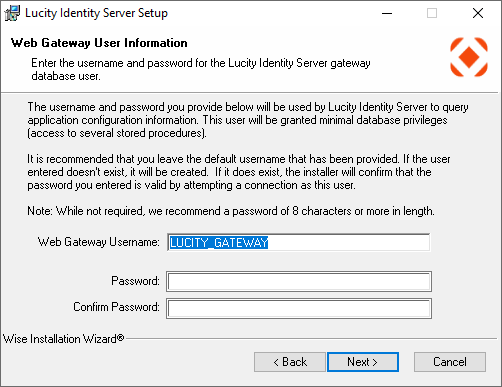
-
The dialog informs the reader that the Username and Password provided will be used to create a new database user. The Lucity Identity Server will use this account to query application configuration information. The designated user will be granted minimal database privileges and access to several Lucity stored procedures.
Consider the following when creating a Username:
- Lucity recommends using the default Username provided.
- If you choose to use a different Username, it should not be that of an administrative user or any existing Lucity user. If you enter a Username that is prohibited, you'll be prompted to enter an alternative Username.
-
You cannot use Lucity_User for this login.
Consider the following when creating a Password:
- If the Username entered already exists, the installation will verify the Password by attempting to connect to the database as this user.
- Lucity recommends a password of at least eight characters for new accounts.
By default, SQL Server enforces an agency's local or domain password policy when evaluating passwords for database users. Please ensure that the password you choose meets your organization's password policy.
- Click to continue. The Database Administrator Login dialog appears:

DBA Credentials are required to create or update the specified user account. Provide SQL Server system administrator credentials or some other database administrator account.
If the credentials entered aren't sufficient, an error message will detail the possible problems.
- Click
 to continue. The Ready dialog appears:
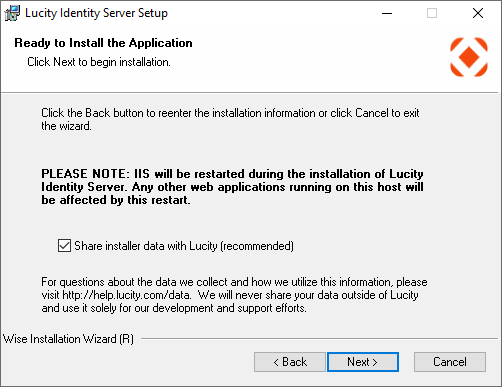
Notes:
IIS will be restarted during the installation.
It may take up to one minute to create the virtual directory, depending on the speed of the web server. Please wait for this process to be completed.
-
Click
to begin the installation. This process may take a few minutes. The following window appears when the installation is complete: 
-
Click to complete the Lucity Identity Server install.